Showing posts with label Recipes. Show all posts

Thursday, August 1, 2013

Easy Egg Bake


Yesterday was the Rustic Knight's birthday. I made an egg bake for dinner and the Cinnamon Sugar Butter Cupcakes, though I portioned the batter into three mini loaf pans -- NOTE: if you do this, add time (it took 40 mins to bake at 300 degrees in my toaster oven #2). Actually, I altered the recipe a bit because I was out of the cinnamon sugar butter and was too lazy to make it before making the cake. I put in a stick of butter and eyeballed the cinnamon, adding extra cinnamon to the batter -- The Rustic Knight love's his cinnamon sugar :) -- and chopped walnuts...delicious! Point I am making: feel free to alter the recipe and make it your own!!!! :) 

FEAR NOT!

Thursday, June 27, 2013

Cinnamon Sugar Butter Cupcakes

This lovely cupcake is topped with a Whipped Cream Mascarpone Frosting :) 
It stands up wonderfully! But here...
We care about the cupcake!
This came about as an accident. 
I made Cinnamon Sugar Butter for cinnamon sugar toast, I had to use it before it went bad -- remember, I tend to make more than needed! Creating the butter makes it much easier and cleaner to put on the toast, than doing each step separately. Now, I believe in making the cinnamon sugar to taste, or look. I know what color the mixture needs to be for my personal preferences. 

Here is the recipe (makes 9 cupcakes): 

Whipped Cream Mascarpone Frosting

I love homemade frosting, especially whipped cream frosting. 
But I found many of the recipe's too sweet, and lessened the sugar to cream ratio. 
I also wanted a denser, more substantial frosting. 
Somehow -- ;) -- Mascarpone Cheese entered my mind as a solution. 
I had no idea what this cheese tasted like, 
but I've seen in added to sweets and savories, 
making it a versatile ingredient. 
When I purchased it, I tasted it before adding sugar. 
In my opinion, on it's own Mascarpone is very bland. 
Once I added sugar, it's flavor came out, 
and I realized this cheese takes on whatever seasoning is mixed with it. 
So, here we are!

Wednesday, June 12, 2013

Stacked Grilled Cheese

I was in the mood for a grilled cheese the other day, inspired by Ivy's sandwich in Chapter 12 of The Secrets Held Within. So, upon staking out my fridge, looking for what spoke to my tummy, I opted for tomatoes and mushrooms.

Taking two pieces of bread, I layered the cheese and veggies: Mozzarella, Tomatoes, Provolone, Mushrooms and Tomatoes, Mozzarella, Mushrooms, Provolone. Then, after placing the sky high sandwich within the toaster over, I set the temperature to 250 degrees.

And watched...

Once the bottom was browned, I flipped it over.

And watched some more...

Once I saw the cheese start to ooze, I was mesmerized.... All of that gooey cheese was going to taste so good. The thought of it made my mouth salivate. I don't know how much time passed, but all of a sudden, I had to hurry, lest the cheese separate from my sandwich and fall to the floor of the toaster oven! I rushed to plate it, opening the door and sliding it on a plate, before said disaster could take place.

Look how pretty it is!!! And it tasted just as wonderful :)

Thursday, May 2, 2013

Strawberry Chocolate Cake...Mmmm!

I know I normally place my recipes under the On A Whim tab, but this cake really belongs under Tangents. My son and I were reading his Highlights magazine the other day. At the end, there is always an art project and a recipe. The recipe they provided was for oatmeal bran muffins with blueberries. My son wanted to make them. I didn't have 80% of the ingredients. The recipe called for the following (that I didn't have on hand and honestly didn't want to buy): oat bran, oats, wheat germ, blueberries, bananas, oil, and buttermilk. Determined to think of something to make with him, we walked around town running errands, stopping at the grocery store and finally purchased some much needed baking soda and baking powder. Of course, my child wanted frosting with confetti sprinkles, too :)

We walked to the bank, the library, and then the store all the while discussing our cake, among other things. Side note: my husband and I have realized that when we take our son for a walk, he really opens up about what's been going on in his life and in his head. He shares and asks questions. We have found that taking walks around town or in the woods offers a wonderful opportunity for learning. For example, we talked about before and after during our errand run: 
"We are going to the bank before the library, and we are going to make a cake after the store." 

Which leads me back to this cake!

Wednesday, April 17, 2013

Easy Creamy Crunchy Homemade Mac & Cheese!

Talk about working On A Whim, I had a hankering for homemade mac & cheese and upon completion I was utterly amazed at how well it turned out! This led me to remake it for the purpose of taking pics in order to share this amazing dish with you here :) As you know, I rarely right down my recipes, resulting in the inability to make a dish the same twice. Though that's not the only reason, many times I choose to use what I have on hand in the moment, which adds to the variety of my inconsistent cooking.

Tonight, I happen to have macaroni noodles, American cheese, Colby Monterrey Jack cheese, salt, pepper, cayenne pepper seasoning, butter, and flour. Tonight, my husband is out with a friend for dinner and my son is going through a phase of disliking mac & cheese (I know, right!), leaving me with a quantity dilemma. 

Friday, April 5, 2013

Cinnamon Brown Sugar Cookies

This afternoon my son saw a commercial for gingerbread cookies, resulting in his request of making gingerbread cookies. Unfortunately, I do not have the ingredients necessary for such a dessert. Instead, I decided to use what I have to create a sugar inspired cookie.


Here are the ingredients I have on hand: 

2 1/2 - 2 3/4 c. Baking Mix (depending on desired dough consistency :)
1 c. Sugar
1/4 c. Brown Sugar
1 Egg
1/2 c. Butter
1-2 tsp Cinnamon (to taste)
Vanilla Extract (to taste)

I dumped all of the ingredients in the bowl simultaneously because I felt lazy. 
Using a whisk and  then a spatula, I mixed all of the above ingredients together. My son and I did two different kinds: Cookie cutter and drop. Why?

Reason #1: The dough did not become a roll out dough. Though, I adjusted the ingredients to manufacture the most "sugar cookie" like consistency, I didn't want to add too much of the baking mix for fear of the dough resulting in a bread like flavor... 

Instead, we improvised by pressing the dough into the shapes. They baked in toaster oven #2 -- given to us by a friend (though larger than toaster oven #1 it's prehistoric) -- at 300 degrees for 8-10 minutes. 

The first batch burnt. The cookies were too thick. As they spread, the edges baked too quickly.
The second round, we used half the of dough: just under 1/8 of an inch thick (comparable to a ball one inch in diameter).

Reason #2: Personally, I am not happy with the aesthetic of these cookies, feeling the detail is utterly lost. Our cookie cutters are two parts: one for the cookie, and one for the detail within the shape. We did a spring theme using the butterfly and flower. What we should see is the outline of the butterfly's body, along with the detail of each individual wing; in the flower, we should be able to see five separate petals surrounding an outlined center. Do you see a butterfly and a flower? Yeah, me neither, but my son had an absolute blast making these shapes, sprouting much joy within my heart. While this joy abated the disappointment in the amount of work involved for a result of an underwhelming picture, I didn't find them pretty and I wanted pretty cookies. After one and a half dozen shapes, 
I switched to drop cookies...


They are beautiful! 
Do not expect your traditional Sugar Cookie with this recipe.
With their crackle tops and golden brown edges, they are deliciously inviting. 

The texture is a good mix between crunchy and gooey, complimenting the cinnamon kissed sweetness. Salivaters line up! 

Regardless of shape, each cookie sheet housed six cookies roughly one inch in diameter, to allow them ample room to spread. Interestingly, the drop cookies did not spread as much as the cut out versions. This dough yielded two and a half dozen, keeping in mind my first batch was doubled in size. The next time I make this recipe, I expect to yield three dozen. 

We tend not to have every ingredient necessary for many recipes, resulting in my creative juices to get flowing. Case and point: My son wanted gingerbread cookies and I didn't have ginger, cloves or molasses. I knew my son would be happy with any cookie that would let him play with shapes, so I made a sugar cookie. I'm not hindered by my lack of ingredients, I'm inspired to create a new dish with what I happen to have on hand. For that, I almost never make the same thing twice, much to my husband's dismay. I will say that after his continuing requests for me to write my down my recipes I have finally relented, thus enabling the recreation of a dish my husband loves with ingredients we tend to keep on hand... 

P.s. In the time I've compose this post, my husband and son have successfully polished of half of the cookies! Good thing I wrote the recipe down ;)

Monday, March 18, 2013

Impromptu Leftover Salvage


Saturday afternoon I had a hankering for scrambled eggs and hash browns. I must say, though, the thought of cubing all of the potatoes necessary was very daunting, resulting in my resolve shrinking. However, when I looked in the fridge to get the eggs out, I was distracted by all of the left overs we had in our fridge from the previous weekend. Among them? Hash browns my husband had cooked to go with sausage gravy and biscuits! The sausage gravy and biscuits were also still in residence. What to do...

In my effort to not only satisfy my desire for eggs and hash browns, I decided to save myself from throwing away food that would expire in a mere day or two. On a mission, I continued perusing my fridge for other forgotten items. Case and point: I found four egg yolks from the frozen nougatine I made the previous day, and a couple handfuls of cherry tomatoes close to their demise. A scrambler was born! 

To begin with, I placed the leftover hash browns, complete with seasoning and onions, in a miniature bread pan - as to fit in my toaster over - and set the toaster oven to toast for about 7-10 mins. Note to self: Time will vary; Just keep an eye on it - It is very easy to burn things in the toaster oven.  

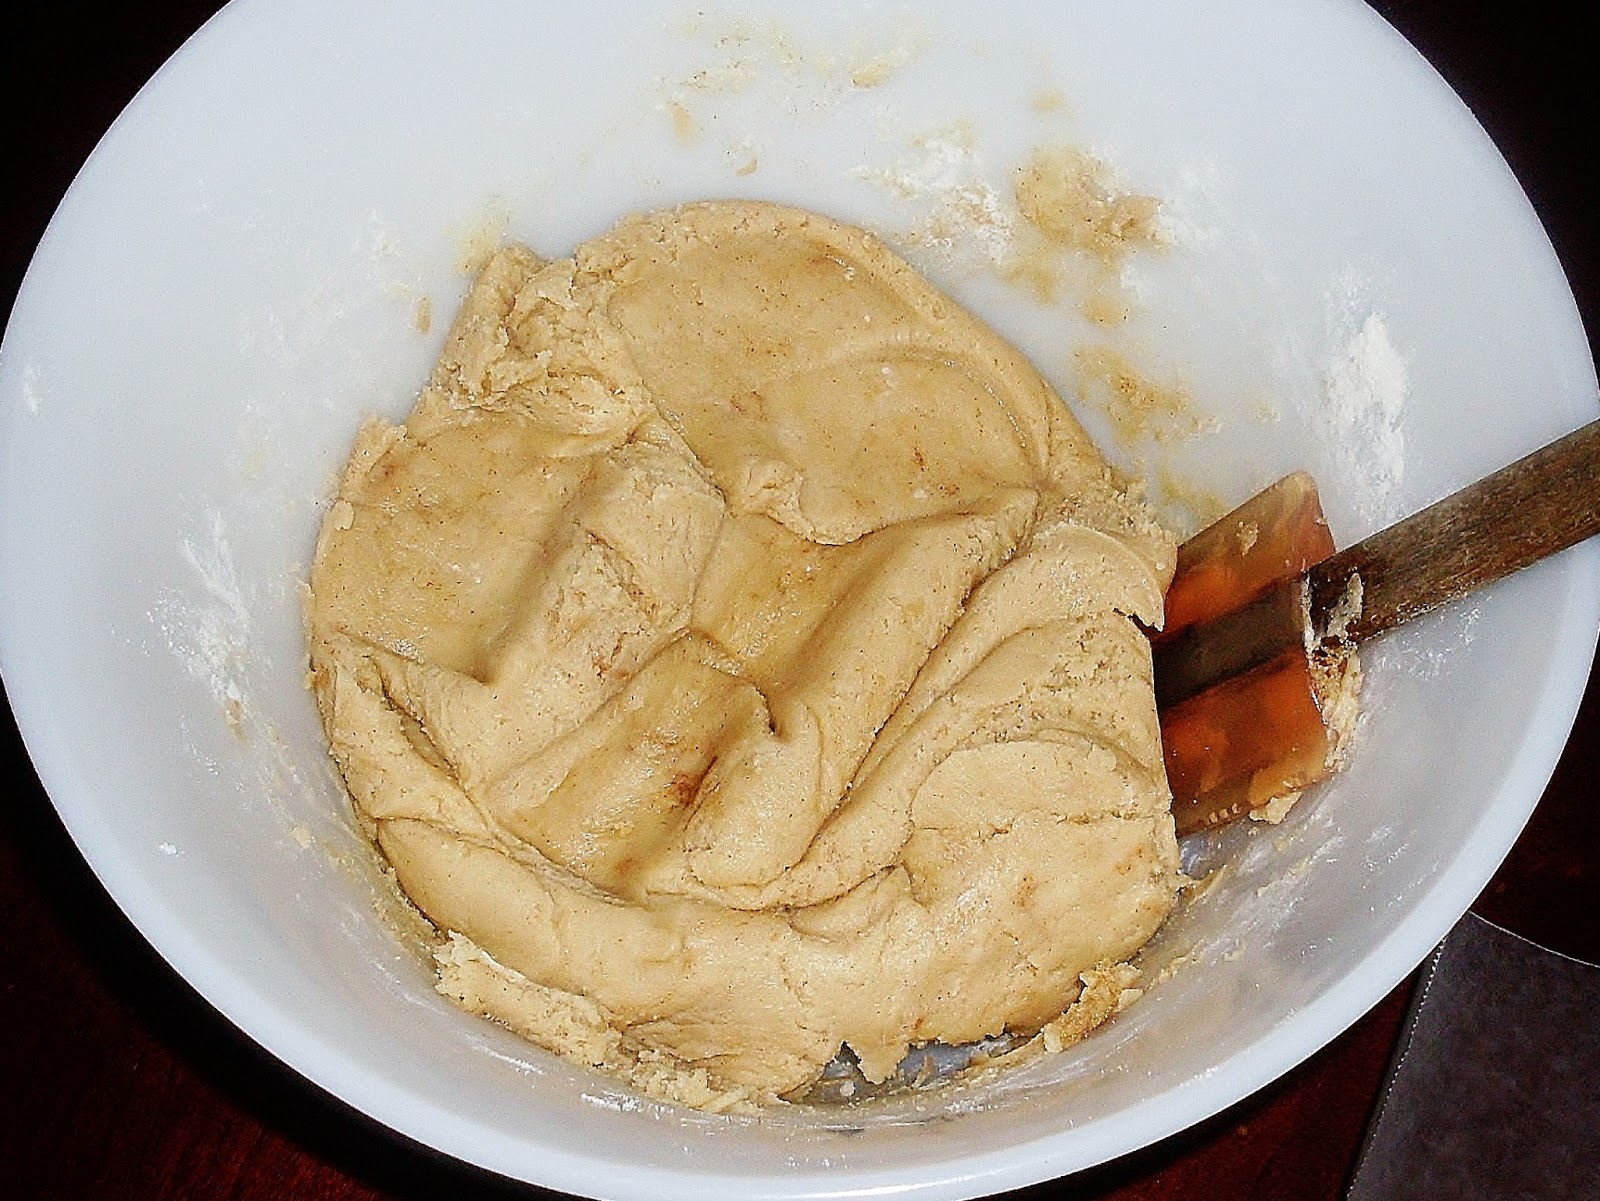
While tots were toasting, I combined my egg yolks with four more eggs and the sausage gravy. The egg mixture met the oiled iron skillet. I kept the heat at med-high, but I do not have a stove and used our plug in electric burner that is not consistent at all, so I had to baby sit it. Sometimes turning the heat up; other times, turning it back down. All the while, periodically running my spatula along the bottom of the pan and flipping the eggs in order to ensure that everything cooked. 


While everything danced with the heat, I chopped up the previously unloved tomatoes into quarters. 
By the time I finished my chopping, the toaster oven dinged, revealing crispy cubed hash browns. 


After mixing the tots in with the eggs and sausage, 
I added the tomatoes, stirring until blended. 
Once tomatoes were heated through, I served up lunch.  
It was yummy!!! And what I wanted: I didn't have to do an extraneous amount of prep work, and I cleaned out my fridge without throwing food away!! I smell - and taste - success :)

Later, for dinner, we had what was left over from the egg scrambler I made - yes it was that good. My husband put cheese on it. I don't know why I didn't do that the first time...I love cheese! I usually add it to everything...
Anyhow, I noticed I had an almost empty container of sour cream, which is great with just a spoon, and decided to put it on my eggs, too - after I added hot sauce. Now, I'm hooked: egg scramblers must always have hot sauce and sour cream! I can't believe I have never tried it before!

In closing, this post isn't so much about how to make each element within the dish, but to inspire creative forces of re-inventing leftovers :) Maybe I should have posted this under the Re Imagined page :)

Hope this helps you clean out your fridge! If you have a dish that is a combination of various left overs, please share! :)

Wednesday, March 13, 2013

Chocolate Chip Cake-Cookies

My husband and I just recently moved into a 1930's home rental. It is beautiful! It has character, large spaces, and wonderful traffic flow. The rooms have wide connecting door openings, yet still retain the feel of separate spaces - which as a stay at home mom, I need to be able to get away!

There have been a few challenges with this move. The main being that we are renting. No painting. No major changes, outside of curtains and hanging things on walls. But the biggest challenge is no appliances. That's right! No fridge. No stove. No oven. No dishwasher - yes, I know...it sucks! Along with the washer and dryer MIA.

We got a fridge. We need one in this day and age.

Stove...not yet. We have a microwave. A skillet. A toaster oven. So, I have mastered cooking full on meals with these utensils. We did pick up a $12 plug-in electric burner. Huge help!

That said, I have created a chocolate chip cake-cookie recipe using a baking mix as my base. It started for two reasons. First, I wanted chocolate chip cookie dough. Second, I still have yet to replenish my baking necessities, like baking soda and powder.
Anyhow, I grabbed my baking mix box and perused the recipes on the box and decided to alter the shortcake recipe to be sweeter. Think more like cake and less like biscuit - this will be put in a different post :) I further altered that new recipe to create my much needed cookie dough! And after tasting it, I just had to see how it would bake, and was pleasantly pleased :)

Here is the recipe:

Turn toaster oven to 300 degrees - this is important! Toaster ovens are smaller and heat up very fast. If you keep the temp. where tradition ovens are set, you will burn the outside of your food, but the inside will be raw...

Mix 2 1/4 c. baking mix (it's the generic version of Bisquik) with 1/2 c. sugar, 1/3 cup milk, 3 tbs butter, and chocolate chips as desired. Feel free to add any other type of chips or nuts :)

Spoon mixture onto pan that came with toaster oven. You should be able to fit about five at a time. Recipe will yield around 1 dozen depending on size of cookies - Perfect for the tiny toaster oven..and you can't over eat!!

Cook time: You need to watch in a way you don't have to with a conventional oven. Around 10 mins should be good, but check top to make sure you don't over brown. Remember what I wrote above. Now in my toaster oven, I have to rotate my pan 180 degrees, because the back of the oven is hotter than the front :(

Remove from pan and place on a cookie sheet. After they've cooled just a bit, enjoy! I like warm, out of the oven cookies. The melted chocolate is so good!